
Sushilaben was distraught. With lockdowns announced, her famous Khakhra shop was forced to remain closed, which gave hiccups to her revenue. Sushilaben, initially a homemaker, began her business of selling homegrown Khakras at the age of 40. To insulate her business from further losses, she sought refuge in her new selling channels- Whatsapp groups and Facebook. Yet, her main hindrance remained in collecting online payments in a simplified manner. Sushilaben never thought of having a website, as her shop majorly operated locally. In India instances like Sushilaben are no unique, the small business owners who do not have a website and lack knowledge of online payments will prove to give massive headwinds to their business. Shifting business online which seemed earlier an additional expansion plan became a necessity in the pandemic for the MSME sector. Small businesses in India stared at losses that left them in a precarious position of closing their business permanently. In such testing times, MSMEs pivoting their business online quickly is a near-impossible task. Many MSMEs want to sell online but major investments for website development and less deep tech knowledge for integrating a payment gateway discourages them from doing so. Instead of investing in building a solid, functional website and taking pains to host it all the way to integrate the right payment gateway, MSMEs can accept payments online without having their business’s website or app using payment pages from Razorpay.
‘‘
Shifting business online which seemed earlier an additional expansion plan became a necessity in the pandemic for the MSME sector.
What are Razorpay’s Payment Pages
Whether your business has a website or not, the payment pages from Razorpay are designed to accept payments from your consumer. One can effortlessly create a payment page within less set-up time to go live and start accepting payments from your customers from all over the world. The payment pages can accept payments from 100 international currencies that require no coding experience or support. It helps your business with end-to-end payment collection by allowing you to create a payment page without the need of hosting it. We can also link the payment page to the social media page or can send the payment page links to customers.
Features of Razorpay’s payment Pages
- List multiple products
Business owners can list any number of products or services that they wish to sell on the payment page, also including images and descriptions for each item that we list.
2. Setting limits on purchasing
To prevent underselling or overselling of inventory the business owners can set limits for the minimum or maximum number of products to be purchased by a customer. NGOs and charitable organizations can fix a minimum amount for the patrons to donate.
3. Rearranging the items
Items that have been purchased recently can be displayed high on the payment page by dragging the input items or fields upward or downward.
4. Collect customer data
From an array of input fields supported by payment pages, business owners can capture customer data. The input fields range from phone number to email to PAN number and PIN code. Business owners can select the appropriate input field to ensure proper validation.
5. Reporting
Small business owners can receive a comprehensive report on each item sold, basis on real-time transactions from Razorpay’s dashboard to help make informed business decisions.
6.Works on Mobile as well
The payment pages are mobile-friendly where customers can pay swiftly by just clicking the button with the freedom of choosing from many payment modes.
7. Can be embedded on the website
If the business owner has a website that is not integrated with any payment gateways, they can embed the payment pages CTA in the website where you prefer the call for action. On a single click, the customer will be taken to the respective payment page.
8. Redirect your customer
We have the autonomy to customize the text on the CTA ( Call to Action) and can also redirect customers to the merchant page. After every payment process, we can also show a custom message to show the payee that the payment was successful.
Use cases where payment pages work wonders
Below are the use cases where payment pages reduce time and cost :
- Selling tickets for events: Let us say you are organising a one-day marathon event in your city. But your only hiccup is that you don’t have a website and any means to collect payments online. Creating a website and integrating a payment gateway seems economically unviable and time-consuming for a single-day event. Here, the Razorpay payment pages come to the rescue by giving you the functionality of a webpage that can be customized to suit your brand hosted by someone else but accepts online payments for your event with a custom URL. We can choose the input details in the payment page that we want to collect from the participants such as age, email id, past marathon participation, etc. The payment page can be shared across emails, SMS, and social media pages, etc. It helps you with end-to-end payment collection.
- NGOs and charitable organisations: For NGOs and charitable organisations the pandemic was a rugged year for procuring essentials and raising funds for the cause. NGOs with no cost can create a payment page link as the landing page to accept donations from more than 100 international currencies. The payment pages allow contributors to donate through multiple channels such as credit cards, debit cards, wallets, netbanking, and UPI. There are no hidden charges or extra costs for creating a payment page. For NGOs that have a website, they can add a code to the website and start accepting payments, and then with the Razorpay payment button, we can add an integrated checkout with payment gateway on the website and accept donations without any integration or coding efforts.
- Payment pages for social media businesses: Business owners who have been sharing their bank account details with the customers to date can create payment pages and share them across Facebook and Instagram. After creating the payment page we can just link the payment page to the social media profile where we can accept payments or send the payment link to your customer. Accepting payments through the payment pages are secured with 100 % PCI DSS compliant and certified solution.
Creating the payment pages on Razorpay
Creating payment pages from Razorpay is a no-brainer. But, before we create below, are some prerequisites.
- Firstly, we need to sign up for a Razorpay account.
- After logging into Razorpay’s dashboard, fill in the Know Your Customer requirements.
- To test the payment pages, Razorpay’s dashboard has test and live modes. The test mode is a replication of Razorpay in a sandbox environment which becomes available as soon as we complete the sign-up process. It allows you to test all aspects of your integration before you go live. The payment page created in the test mode does not go live and after thorough testing of the payment page, we can switch to the live mode and start accepting payments from the customer. Sometimes, payment Buttons created in the test mode do not appear in the live environment, thus one must create a new Payment page on live mode.
- Understanding the payment flow
Generic Steps to create payment page
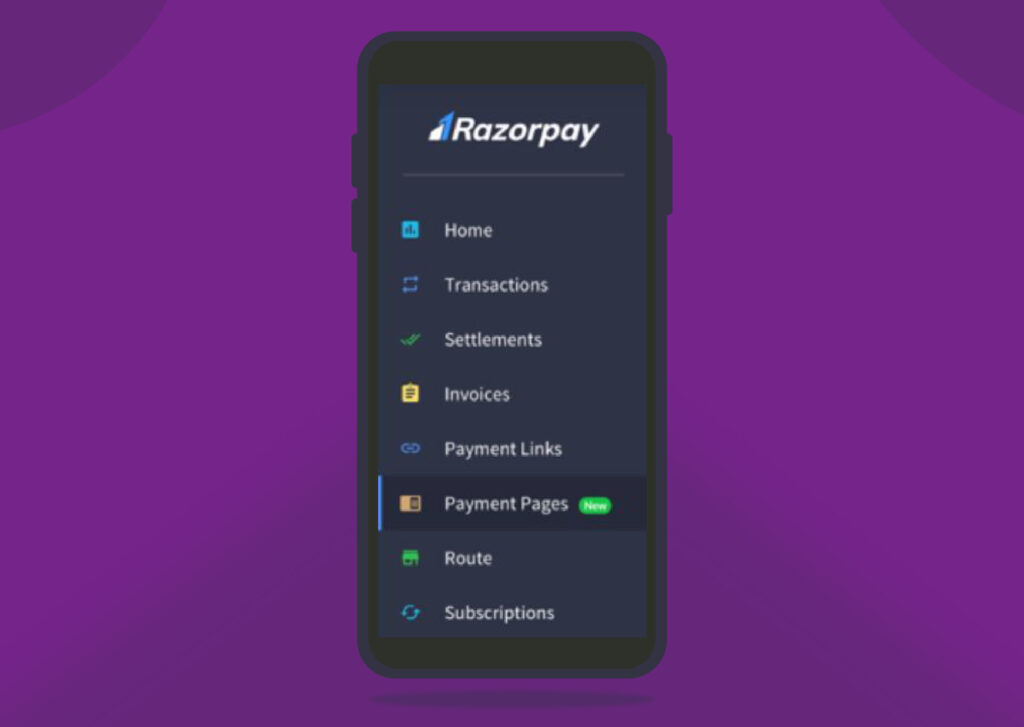
- After logging into the Razorpay dashboard, navigate to the payment pages present at the left bottom of the page.
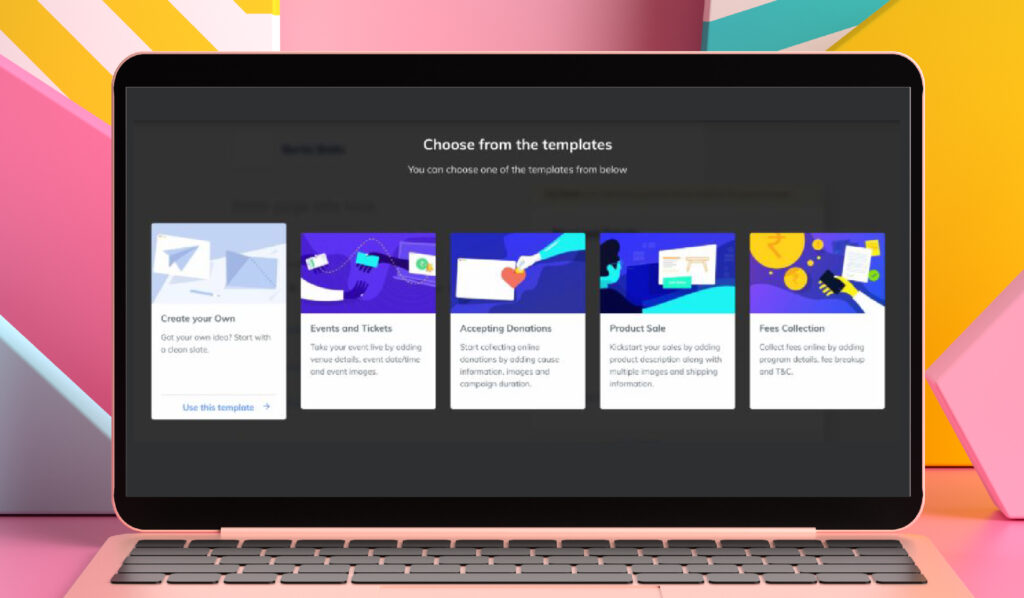
2. On clicking the payment pages, we need to click on ‘create payment page’.
3. It will showcase five payment page template options.
‘‘
Accepting payments through the payment pages secured with 100 % PCI DSS compliant and certified solution.
4. After selection of the payment page template, we need to add page details that require both business and payment details section.
In Business details
For business details we need to add a page title which should not be exceeding 40 characters and a brief description for the page, to make the page more alive images and videos can also be added. To make the payment page shareable on social media, we need to click on the option, ‘ Add social media share icons. For extending any assistance add your contact information such as mobile number or email id. Click on add terms & conditions to add terms of business.
In Payment details
To fill in the payment details we need to configure the price fields. The price fields are the price tags of products or services that we intend to sell.
We can configure the price fields in three ways –
Item with Quantity : We should choose this when we want the customer to buy more than one unit of the item. We can also set upper and lower limits of units that a customer can buy.
Opt for this if you want the customer to buy more than one unit of the item. You can set additional parameters for minimum and maximum numbers of units a customer can buy.
Fixed Amount : We choose this amount when we want the customer to buy a single unit.
Customer Decides Amount: This mostly happens in the case of donations if we want the customer to enter the donation amount. We can set additional parameters for the minimum and maximum amount a customer can enter.
Customizing the pay button label
We can customise the pay button label by labelling it as book tickets, pay now, etc.
Configuring the payment receipt
By selecting the automated receipts we can ensure that the customers receive payment receipts via email once they complete the payment.
Configuring the page settings
Choose a custom URL for the page, this is available only when in live mode. Enhance the look of the payment page with a light or dark theme.
Publishing and sharing the payment page
After saving and publishing the payment page, a URL appears that we can copy and share. If we have a website, then we can embed the payment page button on the website, the customers can click on this button to open the payment page and complete the payment. In the pop-up that appears, customize the button text and select the button size and then copy the HTML code to be embedded on your website and select done.
Thus, with the above-mentioned steps get started to accept online payments through payment pages.


